Have you ever looked at a map from the past and thought, “That looks wrong!”? Maps are often influenced by the perception of their maker. While they might not always seem “accurate,” these unique viewpoints can give lots of information about historical details, biographies, and the time period in which they were made. In this way, every map has a story to tell. For decades, researchers like Diana Lange have been seeking the full story of a series of maps of Tibet, known as the Wise Collection.
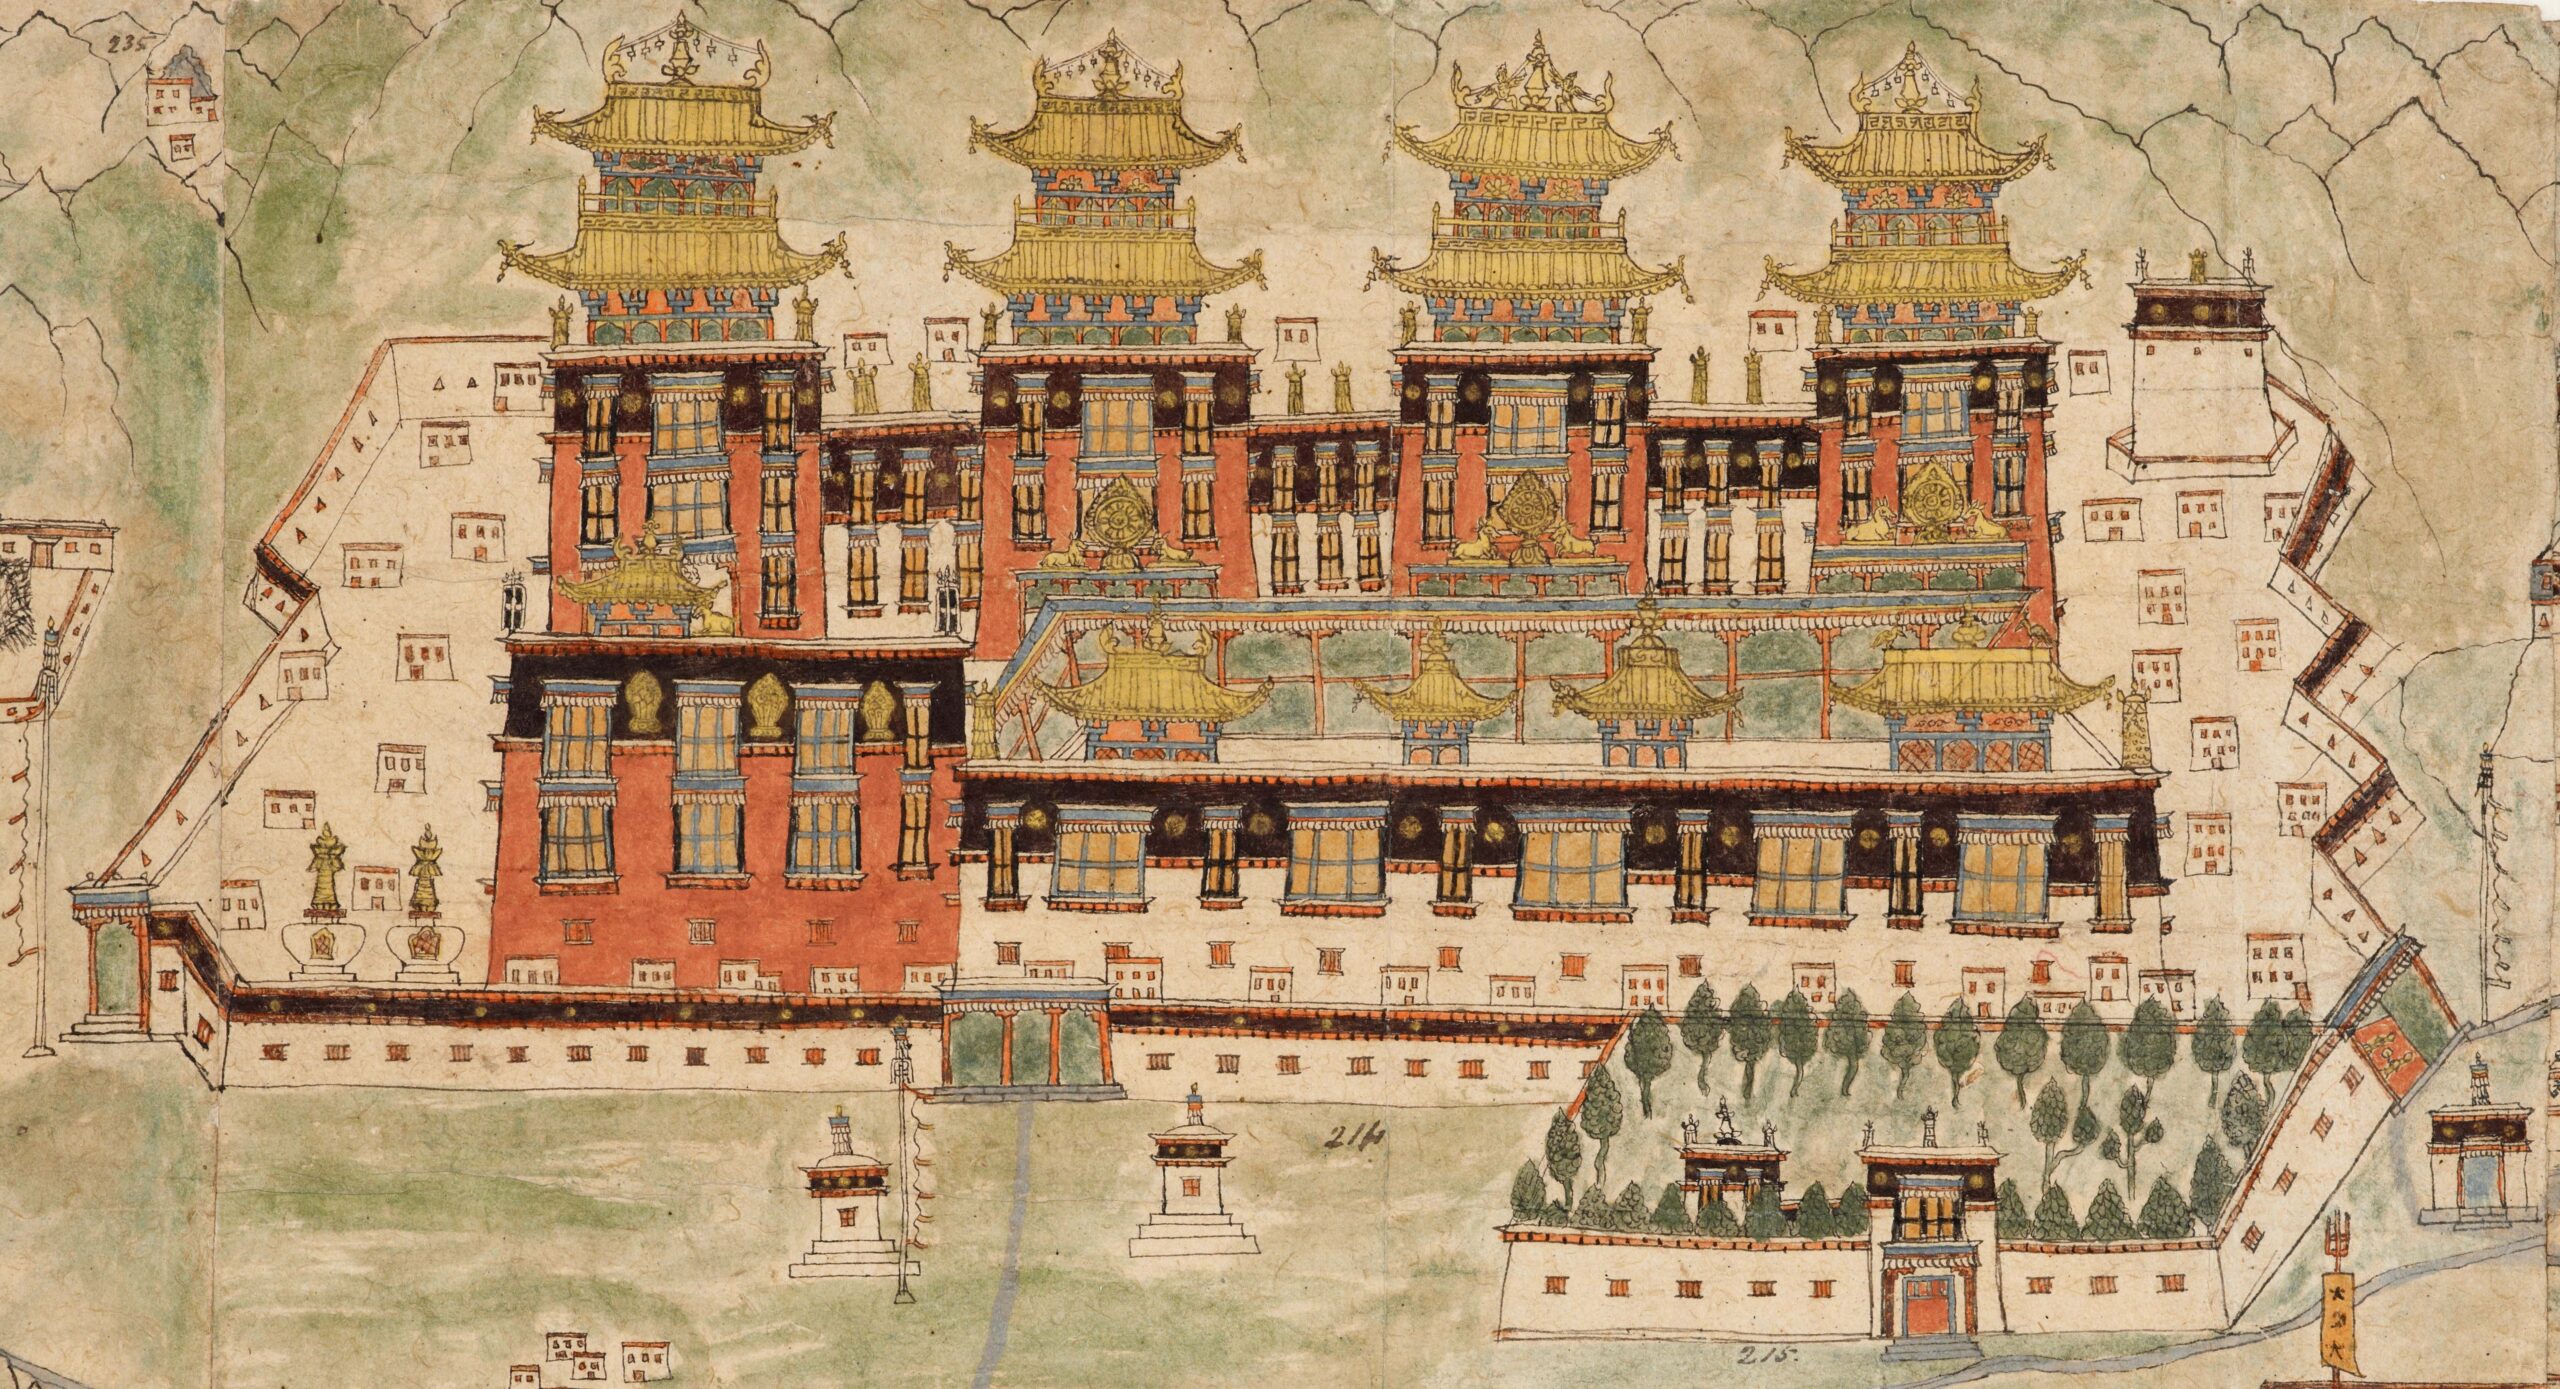
The panoramic maps, several of which are currently on display in Monumental Lhasa: Fortress, Palace, Temple, are over one-hundred-fifty-years-old and were made during a time when Tibet’s borders were closed to foreign visitors. The origins of the maps have been shrouded in mystery for most of their existence.
Below, Lange discusses solving the puzzles of the Wise Collection and what the maps reveal about their creator:
Piecing together the mysteries of the Wise Collection
The story of the collection is quite similar to a puzzle that becomes accessible piece by piece. In the late 1960s, the former British diplomat and Tibetologist Hugh Richardson noticed a collection of drawings in the India Office Library, which were cataloged as the “Wise Albums”. This was the start of the long search for “Wise” who after thirty years—was identified as Thomas Alexander Wise (1802-1889), a Scottish polymath and collector. The collection was named after Wise but he was not the person who commissioned the drawings. After years of research, I finally found one of the most important pieces of the whole “Wise puzzle”: the man who commissioned the drawings can now be identified as Major William Edmund Hay (1805-1879), former assistant commissioner of the Kulu district in the Western Himalayas. In 1857 Hay engaged a monk from Lhasa to make the set of drawings that subsequently became known as the “Wise Collection.”
A Tibetan monk-artist from Lhasa
This monk from Lhasa produced the most comprehensive set of large-scale visual depictions of mid-19th century Tibet and the Western Himalayan kingdoms of Ladakh and Zangskar. This is the largest panoramic map of Tibet of its time. We don’t yet know the name of the monk-artist, but this doesn’t mean that we don’t know anything about him. He was a traveling lama from Central Tibet who was probably on a pilgrimage when he met Major Hay in the Western Himalayas. Hay referred to him as “my lama” in the drawings’ accompanying explanatory notes.
Travel, map-making, and memory
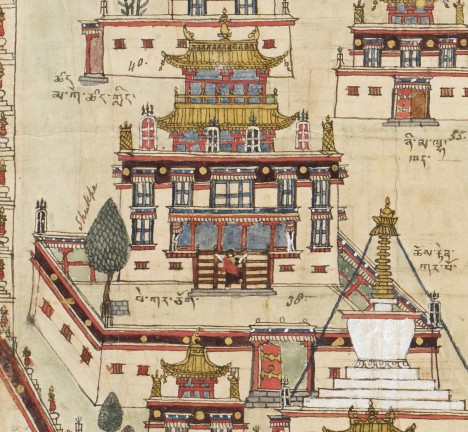
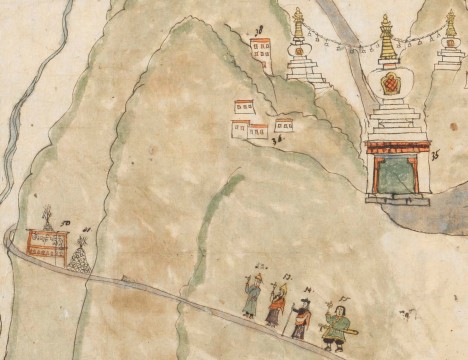
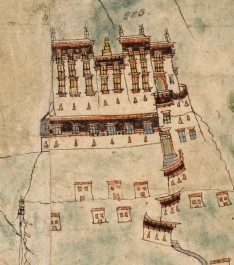
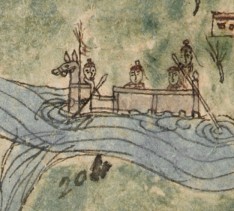
The maps illustrate the main route that was used by traders, caravans, and pilgrims traveling across Tibet between Lhasa and Leh until the middle of the 20th century. The map-maker likely traveled along this route, familiarizing himself with the topographical characteristics—such as mountains, rivers, lakes, flora, fauna, and settlements—that are depicted in the drawings. The maps also contain detailed information on infrastructure such as bridges, ferries, travel routes, roads, and mountain passes. Illustrations of monasteries, forts, and military garrisons are highlighted.
These maps are far from being passive illustrations of the sights travelers across Tibet would have encountered during the 19th century. The extent of the collection—the large number of images and the breadth of detail—means that the monk had in-depth local knowledge about many of the places he depicted, and he was clearly experienced in drawing. He was not commissioned by Hay to gather information on Tibet before he started his westward journey from Lhasa (they had not yet met!); rather he seems to have been asked to “˜draw and describe’ Tibet from memory after finishing his journey. As an educated monk he was trained to memorize texts, and—as testified by these maps—he was apparently gifted with an uncommon visual memory.
De-coding historical maps
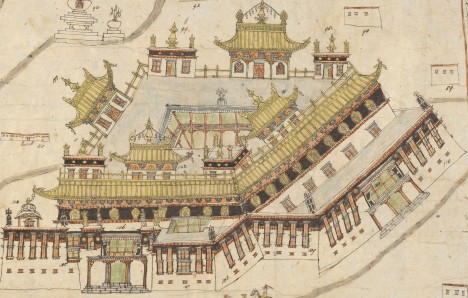
The use of scale is not uniform across the maps. As you travel westwards from Lhasa on the maps, the scale increases. Assuming that the map-maker came from Central Tibet, it’s not surprising that the maps of that area were made at a smaller scale and show more details. The maps also have different orientations—some are oriented to the south, some to the north, and still others to the east. Buildings on the maps usually face the viewer, ignoring the geographic location. Instead of showing the whole building, only significant architectural characteristics are highlighted.

As a result, many people who look at the maps comment that they are “˜wrong’, especially concerning their geographical and architectural accuracy. The historian Timothy Brook stated about his research on the Selden map of China: “To read a historical map means having to learn its codes ““ and ignore some of our own, (“¦). The worst thing we can do is to condescend. To a greater or lesser degree, maps are always adequate to what they were meant to do. A cartographer draws something in a particular way because that is what he intends. (“¦) If a historical map looks “˜wrong’ to us, it is simply because we haven’t figured out its code.” Figuring out the code of the panoramic map of Tibet has been the most fascinating and serious challenge of my research on the Wise Collection and enabled me to approach the mapmaker’s way of thinking.

Major Hay returned to England in 1858, bringing with him the set of drawings. The drawings remained hidden and forgotten for almost one hundred years before their “˜rediscovery’ in the British Library archives by Richardson.
Now—another fifty years later—some of these fascinating drawings traveled from London to New York, where they are on display for the first time at the Rubin Museum in the exhibition Monumental Lhasa: Fortress, Palace, Temple. They can now be observed by people who probably view them in a very different way from the man who made them. You are welcome to take a look at them.
These maps are not “˜wrong’ at all; instead, they transmit valuable ideas about the mapmaker’s perception and representation of the territory they illustrate and of his way of seeing and looking.
Continue decoding the Wise Collection maps of Tibet with Diana Lange on the Rubin stage on December 2, 2016, and see the Wise Collection maps yourself in the exhibition Monumental Lhasa: Fortress, Palace, Temple.
About the author
Diana Lange holds a PhD in Central Asian studies. She is a research associate at Humboldt University in Berlin. Her research is focused on Tibet and its neighboring regions with a specialization in material and visual culture as well as cultural interactions.