In September 2015 the Museum closed the Shrine Room on the second floor with plans to move the installation to a larger space on the fourth floor. Museum staff worked tirelessly for two years leading up to the move—planning, designing, and curating a more engaging space. Dozens of meetings, endless scheduling, and more meetings occurred—fortunately this post chronicles none of that.
Instead, here is the play by play of what happens when all that planning comes to fruition, as told by Jean-Luc Howell, an associate registrar at the Rubin during the project.
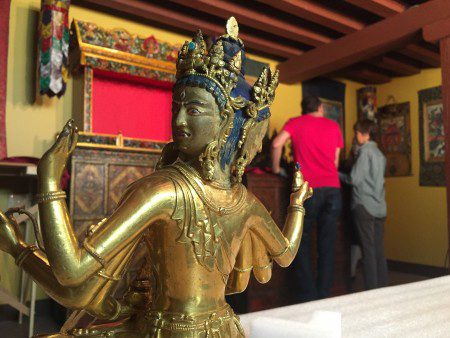
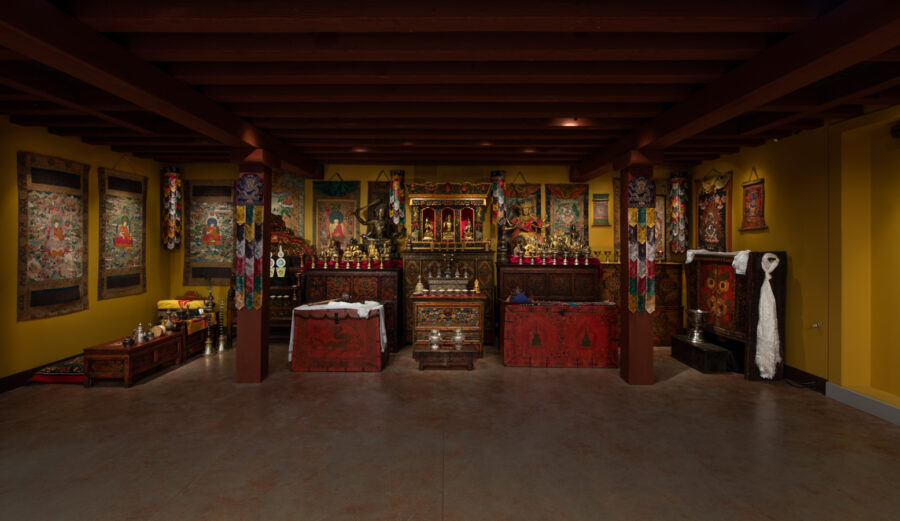
The old Shrine Room installation.
At the close of the original Shrine Room installation, the A/V staff was the first on the scene, removing the intricate lighting system that gave the space its mood and allure.
A/V staff removing lighting.
While all the wiring was being removed, our collections management staff and art handling crew set up a temporary storage space in the adjacent gallery. This space was used to hold works of art as they were removed from the space.
We started with removing the ritual objects and sculptures, then the large pieces of furniture, and finally the hanging thangkas and banners. Certain objects stayed in temporary storage before moving upstairs to the new space while others went back to collection storage to make way for other objects.
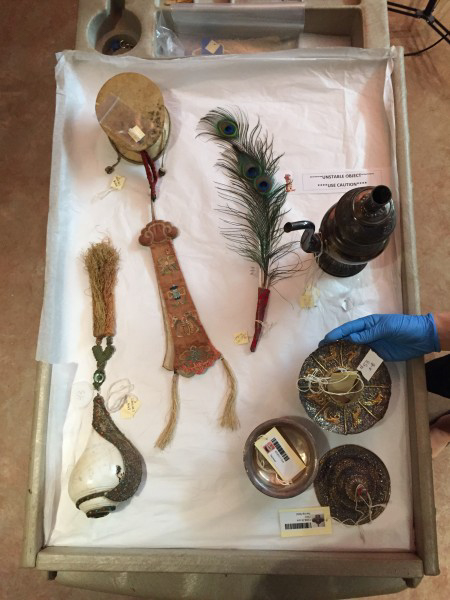
Temporary storage in the adjacent gallery.
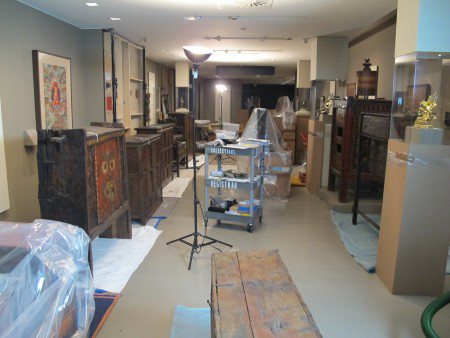
Temporary furniture storage in the adjacent gallery.
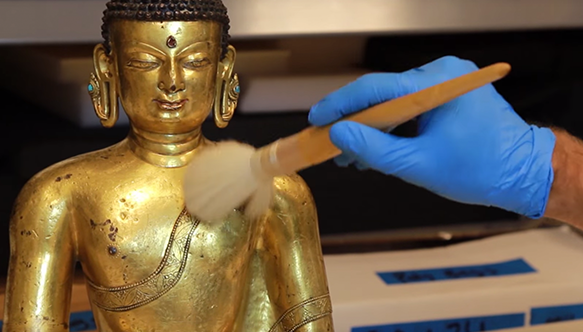
Once all the art was pulled from the original display area, the collections management staff carefully looked over each piece for any change in condition. In traditional, enclosed displays we are able to more closely control the quality of the environment and minimize changes in condition, but the open display of the Shrine Room posed challenges—especially for objects made of sensitive materials like silver. Conservators were called in to clean tarnished pieces that had reacted to the open environment.
Hanging thangkas were the last pieces to be removed.
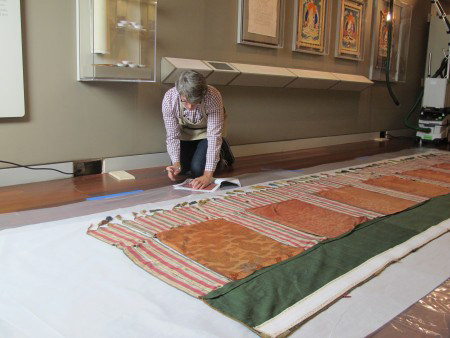
Condition reporting for large banner.
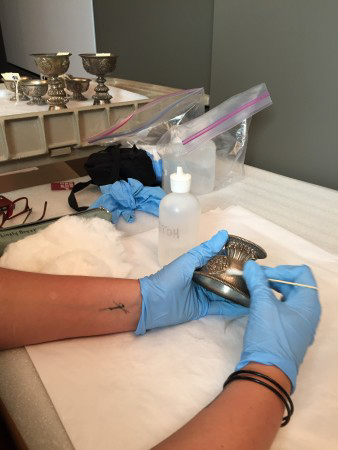
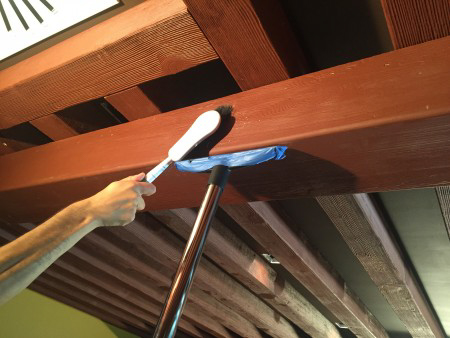
Cleaning the tarnished silver.

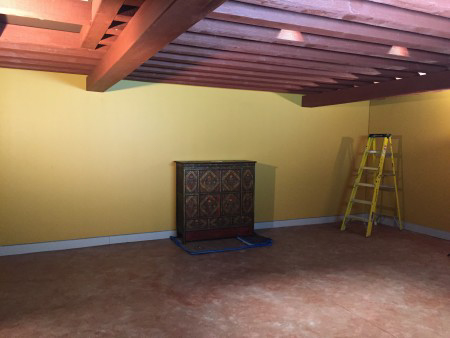
Empty Shrine Room after removal.
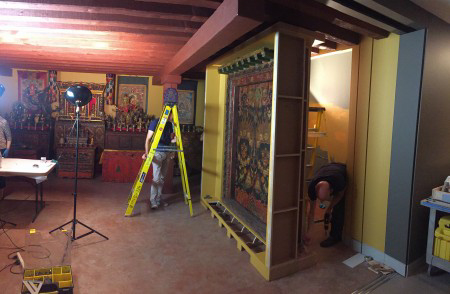
While all this work was happening on the second floor, construction was underway in the new space on the fourth floor. Walls were being built and painted, new lighting systems were being installed, and the shell of the new Shrine Room was taking shape. Once all construction was completed, and following a thorough cleaning, we were ready for installation.
Thorough cleaning of new space.
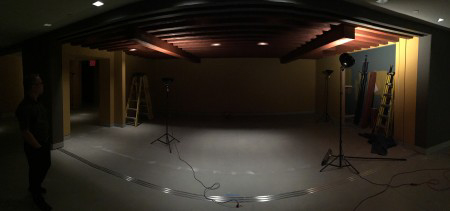
Empty new Shrine Room before installation.
All the art staged on the second floor was moved to the fourth floor over the course of one day. Then we began the installation one piece of furniture at a time.
First piece of furniture in place.
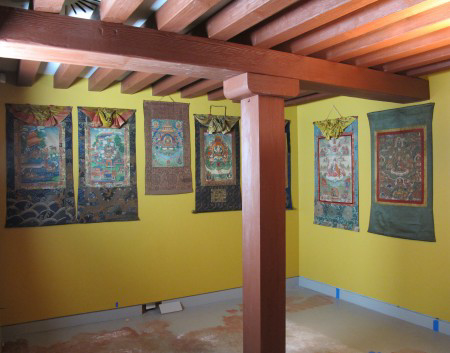
To create a dense display of pieces, great care went into object placement and close attention was given to their spatial relationship. First we placed the furniture to see proper spacing and how these pieces related to the thangkas that were to be hung on the wall. Once the furniture was marked out, and the orientation of the thangkas was determined, we removed all the furniture so the crew could hang all of the thangkas properly and not have to work over the furniture.
Hanging thangkas.
With all thangkas in place we could then move all the furniture back into the space for final placement. Reversing the order from when we disassembled the room, the sculpture and ritual objects were moved in last. These pieces were transferred from their temporary storage in the adjacent gallery to the Shrine Room on padded carts with their object tags for proper identification and location tracking.
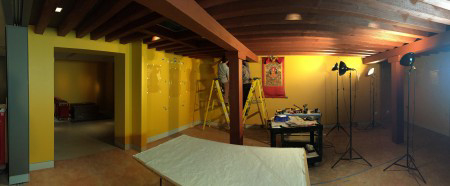
Staging objects for installation.
The pieces were placed in the room based on a design created by our curatorial staff, again with great care and thought to the relation of each piece and its specific position within the space.

Positioning a sculpture in the new space.
More positioning!
The last object to be installed is a new feature in the installation—a shrine room doorway. The frame assembly for the door was created and the door was fitted several months prior. When it came time for final placement, the entire frame and door was disassembled and moved up to the gallery in pieces and reassembled.
Installing Shrine Room door.
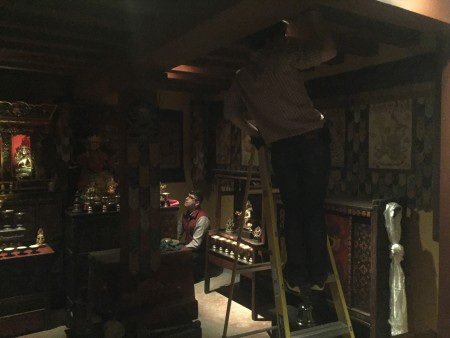
With all the elements in place, we did some final tweaking to object placement and added security elements to ensure the safety of the art. Our A/V team also started to do the final wiring.
Final placement of objects.
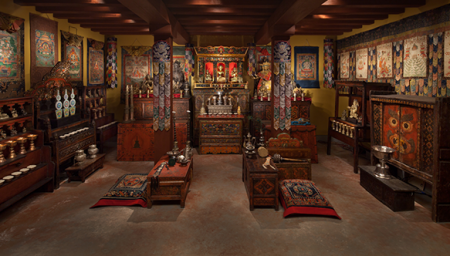
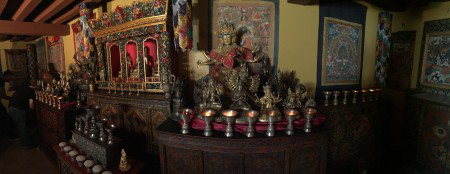
After two years of planning and one month of construction and installation we are delighted with the final outcome.

Full view of completed installation.
After months of hard work, the newly expanded Tibetan Buddhist Shrine Room opened to the public. Learn more about the Shrine Room.
Rubin Museum
150 W. 17th St., NYC
Get the latest news and stories from the Rubin, plus occasional information on how to support our work.